“The camera is online, but there is no footage.” That complaint sounds simple until the system is checked. Live view may still work while the memory card is full. The NVR may display a channel but reject the stream. An event rule may be too narrow, the clock may be wrong, or the app may be showing a filtered playback view rather than the full recording timeline. Replacing the camera first can waste time and hide the real fault.
A security camera records only when several parts of the chain agree: power, capture, encoding, transmission, storage, time settings and playback. Use the following nine checks in order, starting with the least disruptive causes. The distinction between a camera not recording, an NVR not recording and an app not showing footage matters for both diagnosis and customer support.
1. Confirm Power and Basic Camera Activity
Check the power adapter, connector, cable, PoE port or battery level before changing software settings. Look for repeated restarts, an infrared or white-light board that causes a voltage drop, or a camera that works briefly and then stops. It has AC, DC, battery, 18650-cell and solar routes as different power arrangements. Each needs to match the delivered product and the scene load.
A camera may show an old image in an app cache even after the device has lost power. Check a fresh live view, indicator state, recorder status and the time of the latest frame. For a solar or battery model, inspect the power reserve and charging path rather than assuming a recording fault is caused by storage.
2. Check the Storage Medium and Its Capacity
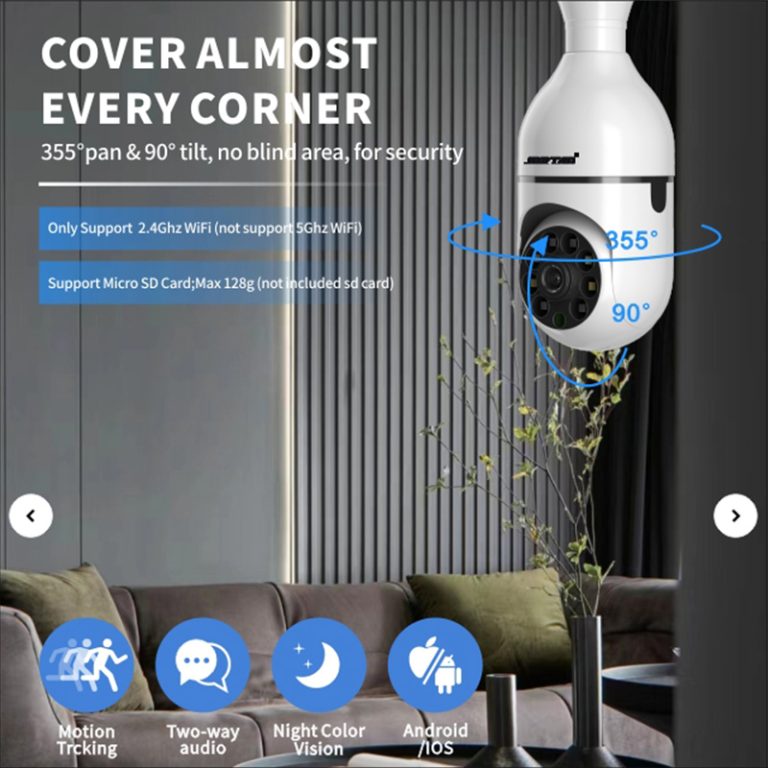
Local recording needs a usable SD/TF card, while an NVR needs a recognized and healthy hard drive. Check whether the card or drive appears in the device menu, whether it is full, whether the overwrite rule is enabled, and whether the recording schedule points to that medium. It identifies Micro SD/SDHC/SDXC storage, NVR hard-disk storage, NAS and cloud as separate options, not interchangeable labels.
A full card can make an event camera appear dead even though the camera is operating normally. A failing drive may allow live view but reject new files. Check storage health and the last successful recording time. Save any important clips before formatting or replacing media, and confirm the supported capacity for the exact model before ordering a larger card.
3. Verify the Recording Schedule and Event Rule
Many cameras are configured for event recording rather than continuous recording. If motion, PIR, or human or vehicle rules are disabled, too narrow or aimed at the wrong zone, the timeline may contain long gaps by design. Review the schedule, time period, detection area, sensitivity and selected event types. Test with a repeatable movement route and compare the event list with the full local timeline.
Do not treat an empty event list as proof that the camera captured nothing. The app may be filtering by date, event type or channel. Playback the full stream where available, check the recorder timeline and export a short clip. This separates a recording problem from a search or interface problem.
4. Check the Network Path and Camera Status
IP cameras capture images, compress the files and transmit video across a network to an NVR or management system. A damaged cable, disconnected switch, incorrect IP address, DHCP conflict, weak WiFi or overloaded router can interrupt that path. The camera may still save to local edge storage while the NVR shows a gap, or the app may be offline while the camera continues recording.
Check the camera status at the recorder, inspect the switch or PoE port, review the IP address and test the route without changing several settings at once. For wireless models, test at the installed distance rather than beside the router. For 4G models, check signal and service status. Keep local recording and remote access as separate questions during diagnosis.
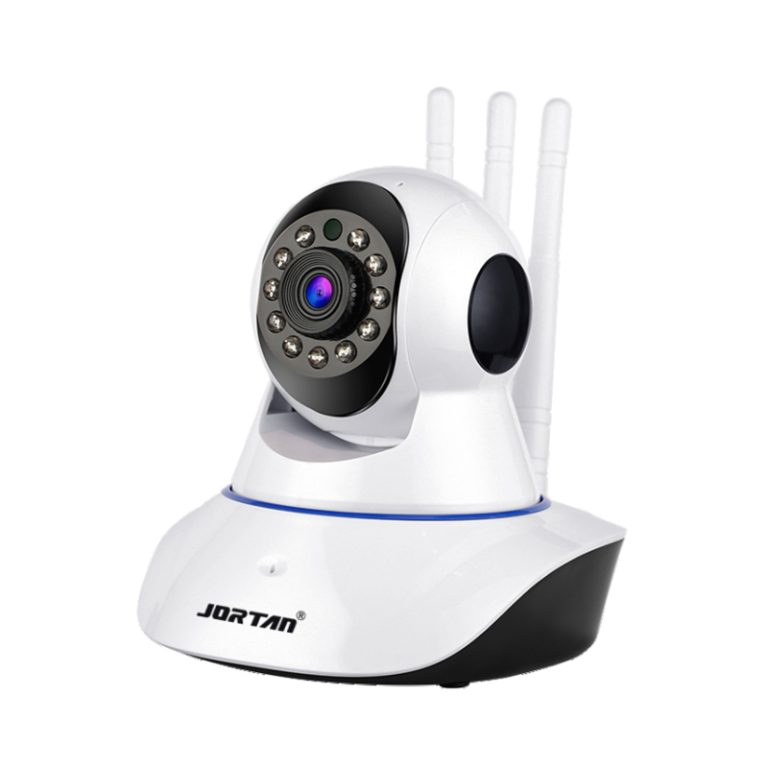
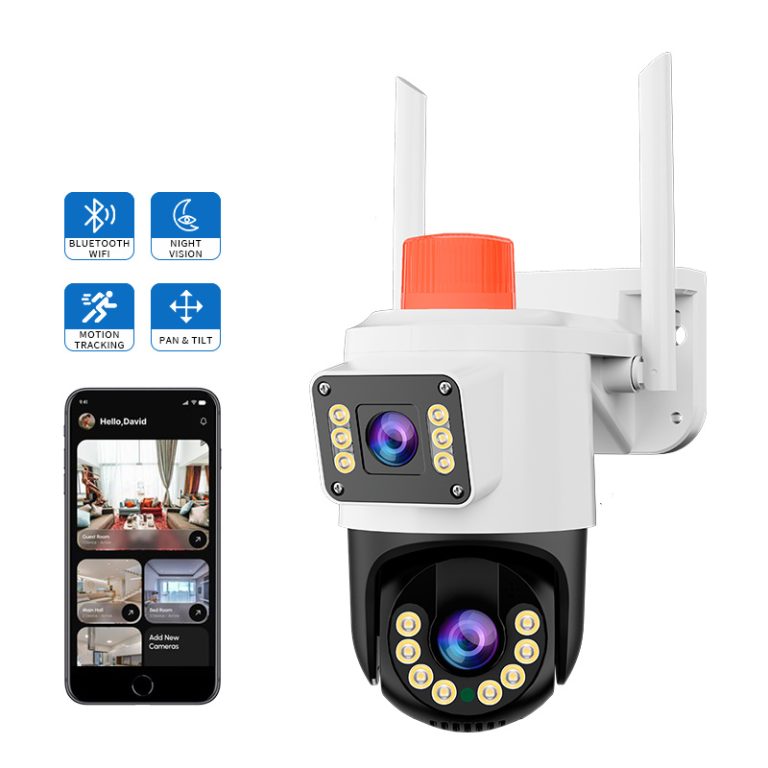
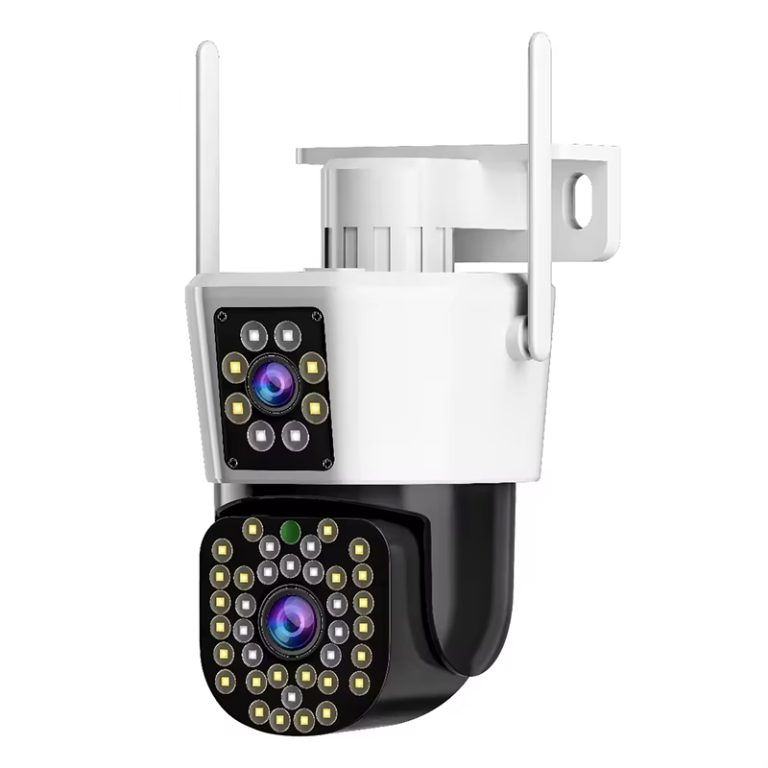
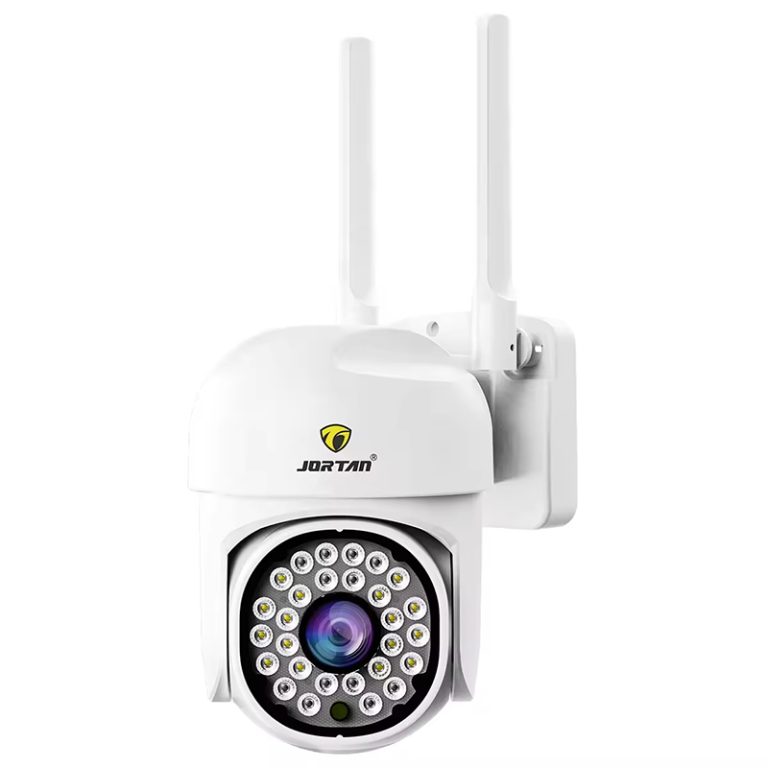
The JT-8699T camera provides a concrete camera page to use when checking the relationship between a camera, network stream and storage path. The exact recorder, app, card, firmware and delivered settings still need verification. A model page can identify the intended product direction, but it cannot prove that every third-party recorder will save its stream.
5. Confirm Codec and NVR Compatibility
Compression affects whether a recorder can decode and store the stream. The knowledge base identifies H.264, H.265 and H.266 as encoding paths used before network output, while project material notes that the camera, NVR, app and export player must support the selected route together. A camera can be visible in a discovery screen and still fail to record because the stream profile is unsupported.
Compare stream, resolution, frame rate, bitrate, audio and codec settings with the NVR. Check ONVIF or other compatibility requirements where mixed equipment is involved.
The Jortan4 camera offers a specific camera line for a buyer to examine alongside recorder compatibility, storage and app requirements. Confirm the exact delivered stream and recording support before presenting the model as a drop-in replacement for an existing system.
6. Review Firmware, Time and Playback Filters
A firmware update can change pairing, menus, recording behaviour or feature availability. A wrong time zone or clock can also place footage under an unexpected date, making a working recording appear missing. Check camera time, NVR time, daylight-saving settings where relevant, firmware version and app filters. Export a clip with a visible timestamp and compare it with the incident time.
Playback is a separate stage from recording. If the recorder writes files but the app cannot decode or retrieve them, the user may report that the camera is not recording. Check playback on the local recorder, through the web interface and through the mobile app when supported. Note which layer fails and keep the wording precise in the service report.
7. Check Bandwidth, Bitrate and Recorder Load
A busy system can lose recordings when the combined stream load exceeds a switch, uplink, NVR or storage path. Resolution, frame rate, bitrate, audio, motion and night noise all change the amount of data. A higher bitrate can preserve more detail but consumes more bandwidth and disk space. A high-resolution stream can also create a processing mismatch if the recorder is sized for a lighter profile.
Review camera count, actual average and peak bitrate, live views, remote users, playback sessions and the recorder’s current disk state. For an event-led system, check whether the camera is sending expected clips or a second stream. Measure before lowering settings, because a low bitrate may solve a network symptom while weakening the evidence that the business needs.
8. Inspect the Installation and Environment
Water at a cable exit, a loose connector, an overheated adapter, a damaged antenna or a bracket that moves in wind can create intermittent recording gaps. Outdoor housings rated IP66 or IP67 still need correct cable sealing and mounting. Infrared or white-light activation can expose a power weakness at night. A camera can appear healthy during a short daytime visit and fail under the actual operating load.
Inspect the physical route, connector, power source, enclosure, temperature, moisture and access point. Compare the camera’s latest local clip with the time of the suspected failure. A service note should state whether the issue is power, network, storage, settings, recorder compatibility or playback, rather than labeling every gap as a camera quality problem.
9. Test Recovery Before Replacing Hardware
After identifying a likely cause, restore one variable and run a short acceptance test. Confirm fresh footage, event clips, playback, export, timestamps and storage overwrite. Disconnect and restore the network where local edge storage is part of the design. The knowledge base describes cloud-edge behaviour in which local TF storage may hold footage during a network interruption and later upload it after recovery, but that depends on compatible equipment and software.
For distributors and installers, a recovery test is valuable evidence for the next support case. Record the model, firmware, app, storage medium, recorder, power path, network condition and result. Jortan’s product range and factory support can be reviewed for a replacement or new system when the existing chain cannot meet the site requirement. Buyers can review a monitoring requirement with the camera count, storage method and failure symptoms, while Jortan provides the broader product context.
Conclusion
When a security camera is not recording, check the entire recording path before replacing hardware. Power, storage, schedules, networks, codec compatibility, firmware, time settings, bandwidth and installation conditions can each create a different kind of gap. Identify whether the failure is at the camera, NVR, storage medium or app, then verify recovery with a fresh clip and export. Precise diagnosis saves equipment, labour and customer confidence.
FAQ
Q1: Can a security camera be online but not recording?
A1: Yes. The camera may have a full or failed card, an inactive schedule, an unsupported stream, or an NVR/storage problem. Check fresh playback and storage status rather than live view alone.
Q2: Why does the NVR show a camera but save no footage?
A2: Check codec, stream profile, bitrate, recorder capacity, hard-drive health, schedule and compatibility settings. Discovery does not prove that the recorder can decode and store the stream.
Q3: Should the memory card be formatted immediately?
A3: No. Preserve important footage first. Check card recognition, capacity, health, recording policy and supported specifications before formatting or replacing the medium.