A camera is useful only when its recorded view answers a real question. A store may need a face at a doorway, a warehouse may need a person and a pallet lane, and a property manager may need a clear handoff at a gate. The lens, height, angle, light, network and storage path all shape that result. Treating placement as an afterthought creates blind spots that no later app setting can repair.
Start with a simple site drawing. Mark entry points, vehicle routes, cash or stock areas, staff-only doors, obstructions and the direction of difficult light. Then write the event that must remain identifiable in each zone. The knowledge base connects lens, field of view, resolution, housing and application rather than treating them as separate catalogue lines. That approach gives installers a better basis for choosing an outdoor camera or indoor model.
Map Evidence Before Mounting
For a sample review, walk the same route a person or vehicle would take. Check the center, near foreground, far end and both edges of the view. Test daylight, backlight, night lighting, wet surfaces and normal obstructions. A view that looks wide and impressive can still make the target too small. A narrower view may provide better evidence at the point where a decision actually has to be made.
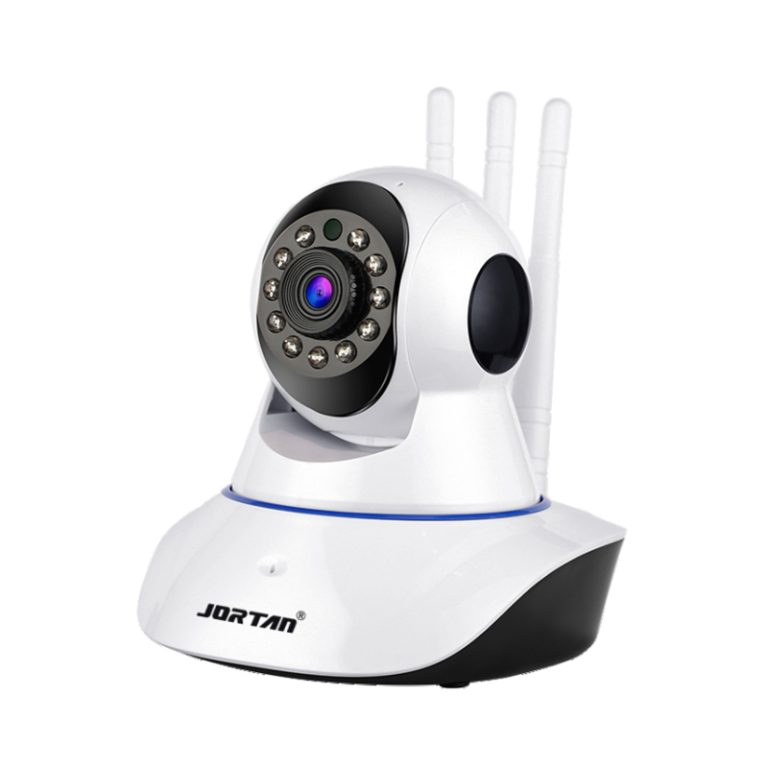
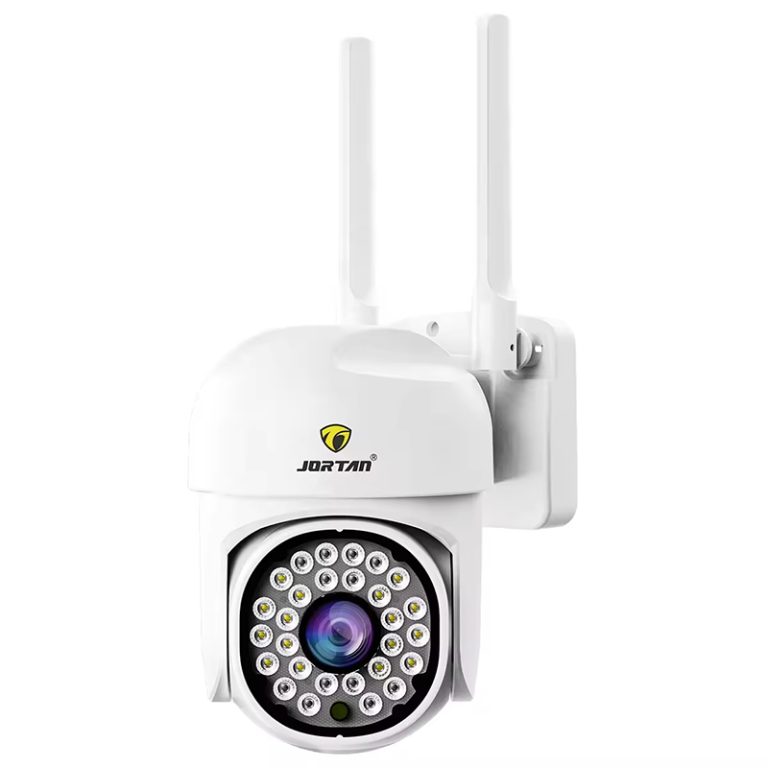
A wide overview and a close identification view have different jobs. A PTZ camera can add reach, but a moving view cannot watch every direction at one time. Fixed views preserve context while a movable lens follows a priority target. Record those roles on the plan so a distributor does not promise one camera for every situation. The best security camera placement is usually a deliberate mix, not a maximum-width image. A model such as the JT-8160QJ wireless camera can be used as the first sample reference.
Test The View At The Real Site
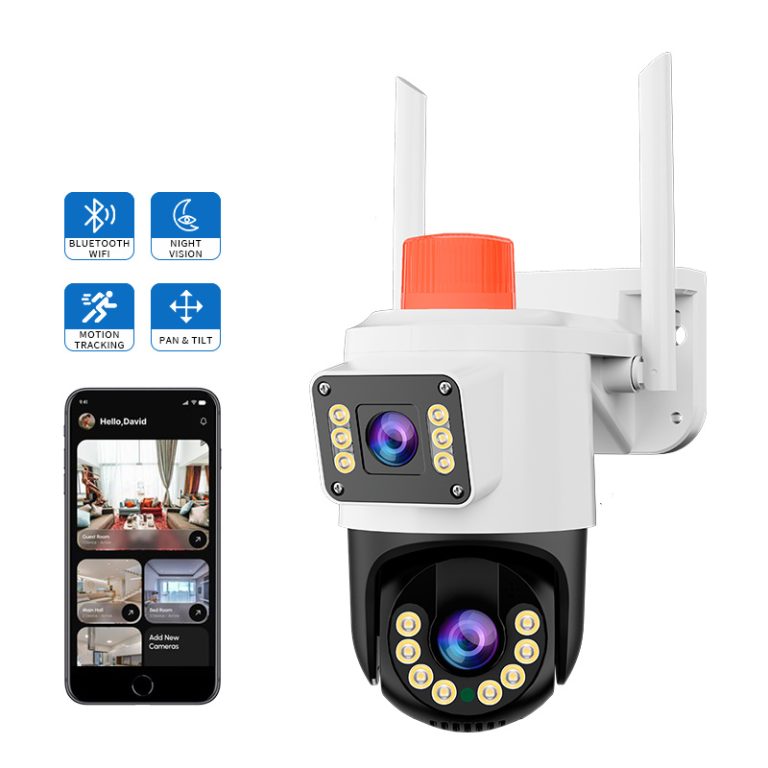
The JT-8160QJ has a 2.8-12mm lens range, night vision, human tracking, two-way audio and an IP66 rating. The 8181XM instructions call for a stable, waterproof installation location and a DC12V/1.5A adapter. Such details belong in a site test: the buyer should verify the final view, power access, bracket, cable entry, storage, and app behavior before approving a repeat order.
Use an acceptance sheet with target distance, mounting height, lens position, lighting condition, expected event, recorded result and corrective action. Include a person approaching directly, crossing sideways, a vehicle stopping near the zone and a partial obstruction. Review the clips in the intended recorder or app. This turns a vague complaint about a blind spot into a measurable placement issue that the installer can correct.
Match Lens Coverage To Site Geometry
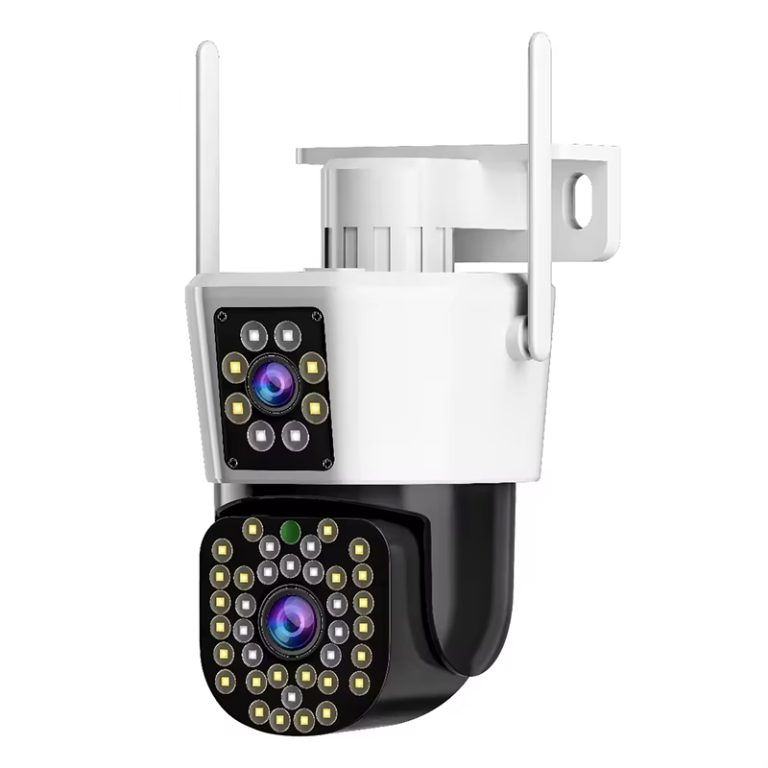
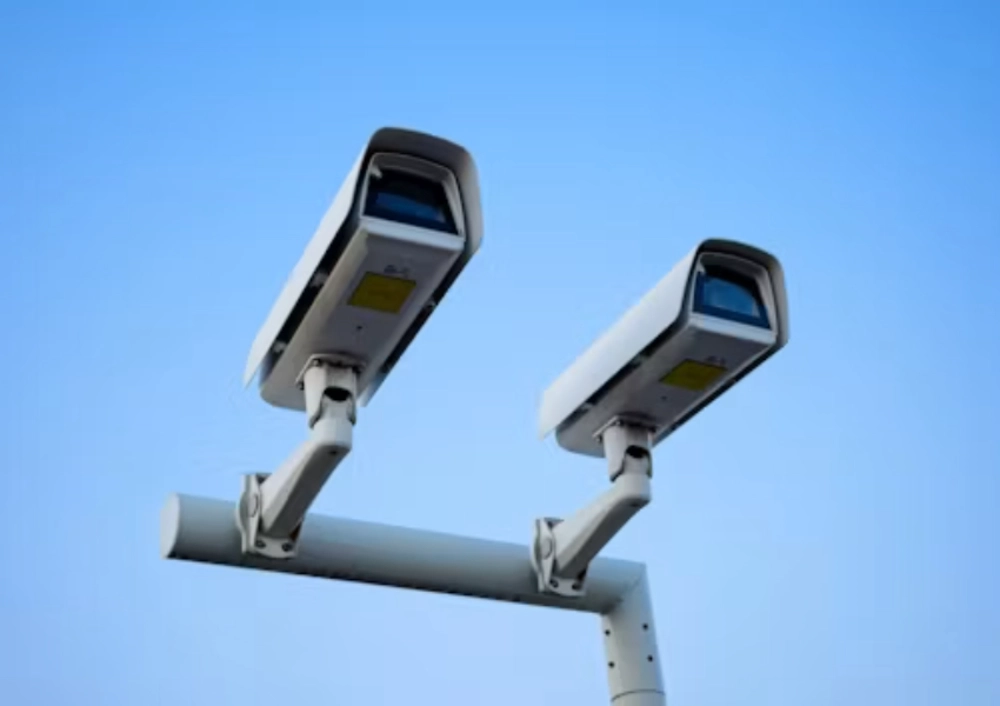
For larger sites, overlap should have a reason. A small overlap can preserve a person moving between zones, while excessive overlap consumes storage and adds duplicate maintenance points. Note columns, racks, eaves, trees, parked vehicles and signs on the drawing. Also record what the camera deliberately does not cover. This makes later expansion easier because the next camera fills a known gap instead of creating another duplicate view. A second reference, the 8181XM outdoor camera, can be compared when the project needs another view of the same procurement question.
A supplier discussion becomes more productive after the layout is defined. Jortan’s wider product line can be compared by lens, housing, power, networking and recording role. The final model, firmware, accessory set and replacement process should match the approved sample. Buyers can request a project review with the site sketch and target distances when a project needs more than a generic camera recommendation.
Approve Placement Before Bulk Delivery
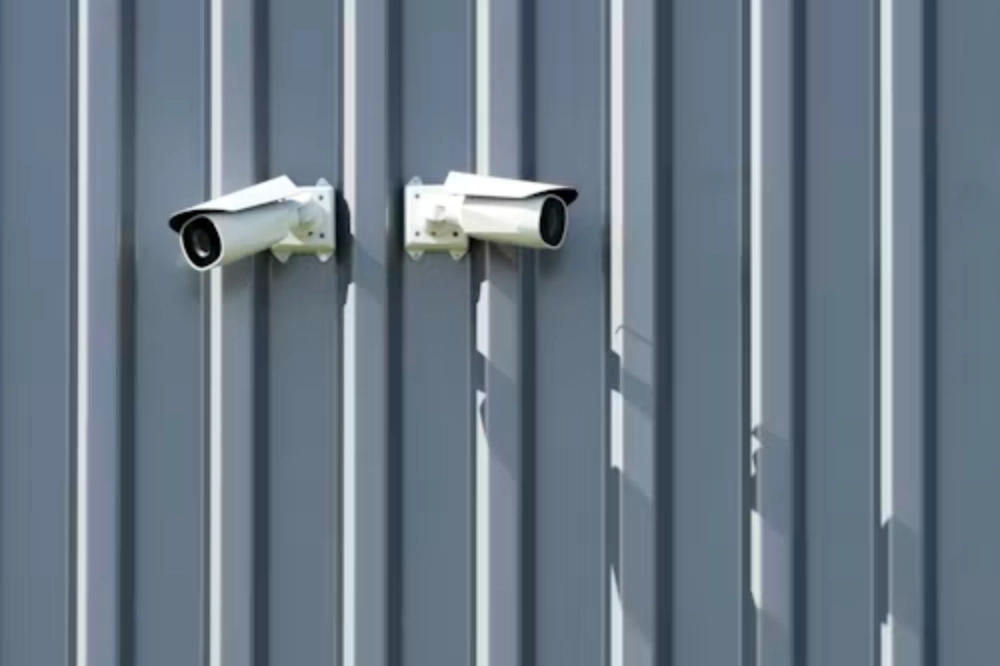
A placement decision should also include service access. Note how a technician reaches the camera, panel, adapter, card or cable seal without creating a new safety issue. Keep the approved bracket and cable route with the sample record. A change in bracket thickness, lens position or light-board location can alter the view across many sites, so repeat-order checks matter.
A distributor can present the product as part of a scene-based line: a fixed view for context, a closer view for identification and a suitable recorder or storage option. That is more credible than claiming full coverage from one model. Keep the customer’s target distance and lighting conditions beside the quotation so the final choice remains tied to useful footage.
Pay attention to the first few meters in front of a lens. A person who walks too close may pass below the useful image area, while a vehicle that stops under an overhang may disappear into shadow. In a retail entrance, place the view so the face is visible before the door frame or counter blocks it. In a yard, keep the identification point away from the brightest lamp and use the wider view for context.
Privacy also belongs on the drawing. Avoid aiming into neighboring windows, staff rest areas or unrelated public space when the project does not require it. Masking or restricted zones may be available in the platform, but the physical view should already be reasonable. Less irrelevant footage can reduce review work and makes retention decisions easier for the business owner.
The final checklist should compare the approved view with the installed view after nearby objects are in place. Shelving, signs, seasonal plants and parked vehicles often appear after the camera has been handed over. A short follow-up inspection catches those changes before a missing image becomes part of an incident review.
For procurement, the final record should connect the selected model with its site purpose, power, network, storage, firmware, accessories and support path. A camera that looks strong in a catalog may create avoidable costs if it needs a different recorder, bracket, app or replacement process. Sample approval should therefore describe the working system, not only the device headline. Jortan can be reviewed after the site requirements are set.
Conclusion
The strongest buying decision comes from tested behavior at the intended site. Match the camera to the scene, the network, the power and the service plan, then keep the approved configuration visible for installation and repeat orders. Clear evidence reduces avoidable returns and gives buyers a more dependable basis for selecting Jortan products and support.
FAQ
Q1: What is the most common camera placement mistake?
A1: Mounting for a broad view without checking whether the target is large enough for identification. Height, angle, glare, obstructions and distance should be tested together.
Q2: Can one outdoor camera cover an entire small property?
A2: Sometimes, but a single view may leave weak detail at the edges or behind obstacles. Map the required evidence points first.
Q3: What should buyers give a supplier before requesting a sample?
A3: Provide a site sketch, target distances, mounting height, lighting, power and network options, storage expectations and required events.